E-Documents allow the patient to fill out a form while in the virtual waiting room, and electronically sign it. Users with an Account Administrator or Clinical Supervisor role can create/edit as many templates as needed, and delete templates as well. Common uses for these E-Documents include Statements of Understanding and intake forms. For a good overview of this feature, please see the video recording of a webinar we hosted on e-documents.
This support article illustrates how to a host can fill out e-documents on the account.
You may also be interested in:
Hosts can assign a document packet to themselves after scheduling a session, or a Scheduler can assign a document packet to the host after scheduling on their behalf.
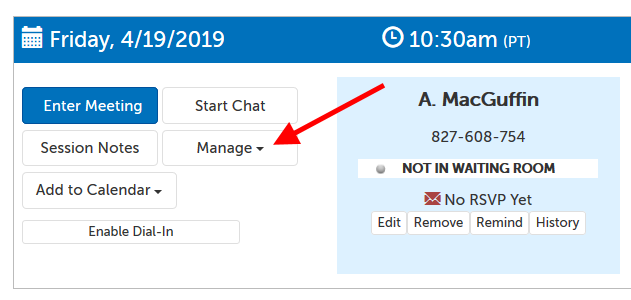
1. On a created meeting, click the "Manage" button.
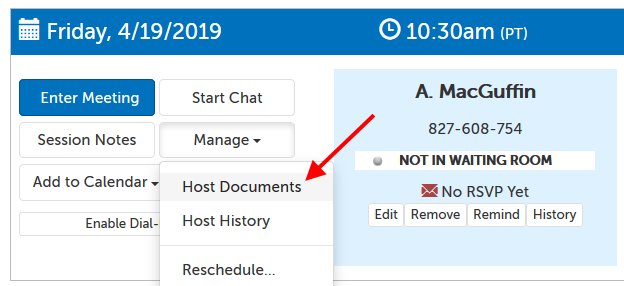
2. From the menu that appears below, select "Host Documents".
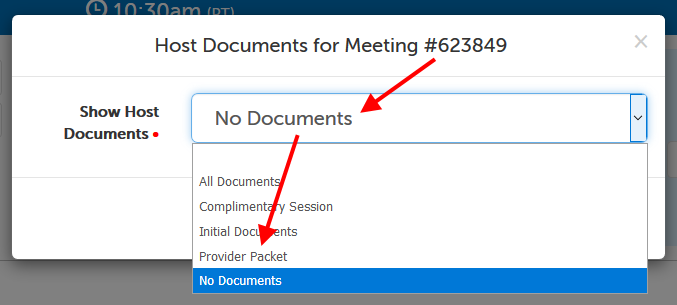
3. The default is "No Documents". Click on this name to see available packets, and then choose the document packet that you want to have available for the host to fill out.
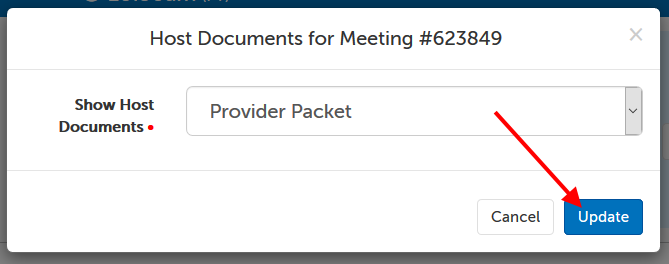
4. Click "Update" when the selection is correct.
5. Documents included in that packet (and their requirements, if any) will now appear to the host below the session panel.
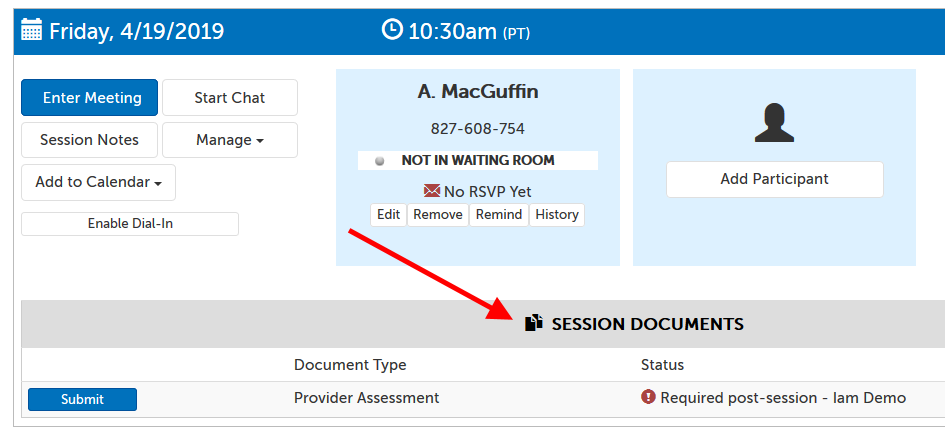
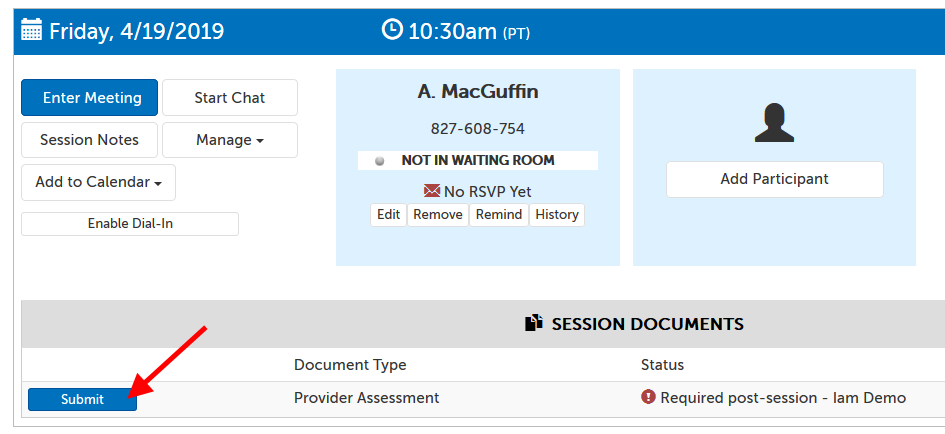
6. If the document is required pre-session, the host will need to click the "Submit" button to fill out the document before the host is allowed to enter the session. If the document is required post-session, the dashboard will redirect to the document after the host has entered the session.
This article was last reviewed by our Support team on April 12, 2019.