To access the Branding menu, click on the "Features" tab, and select "Branding" from the drop-down menu.
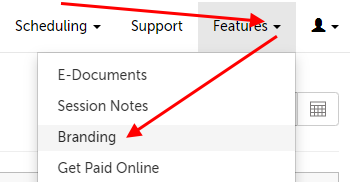
Then either use the button to "Add Branding" (to enable branding) or "Change Branding" (if branding is already enabled).
External Branding
These instructions will walk you through the process of adding external branding elements that your patients will see. Although each component has separate instructions, you can make any or all of these changes before using the "Save" button at the bottom of the page.
Upload logo
This is to set the logo that appears on your account, replacing the SecureVideo logo.
1. Use the "Choose File" button.
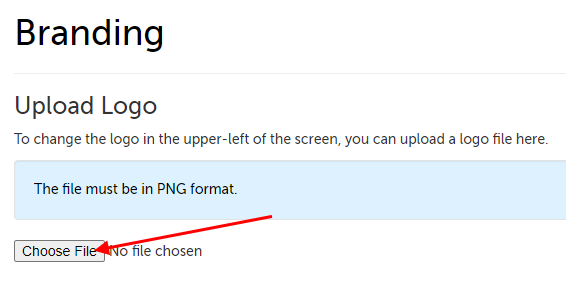
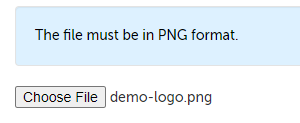
2. Find the logo file on your computer, and select it for uploading. (If uploaded, the filename should appear next to the "Choose File" button.)
- If you want help converting your file to a PNG, please let us know at [email protected].
3. Scroll down to the bottom of the page and use the "Save" button in the lower left-hand corner.

Set link for logo
To make it so that clicking on your logo will take you to your own website, and not SecureVideo's homepage, set up a custom tab.
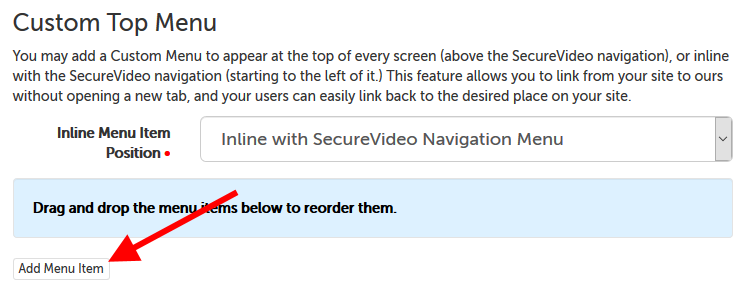
1. Click on "Add Menu Item" in the "Custom Top Menu" section.
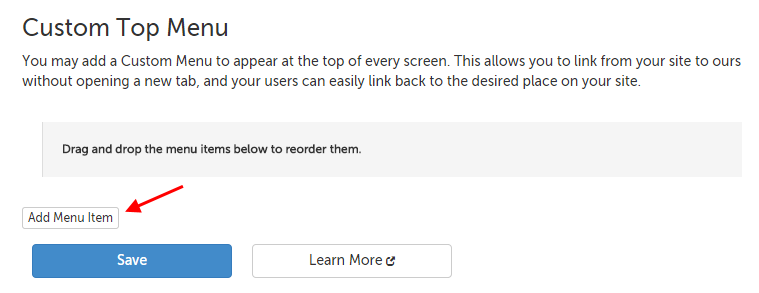
2. Leave the "Menu Text" field blank, and enter your URL in the second field (in this example, we used "http://www.myhomepage.com/"). Then use the "Save" button.
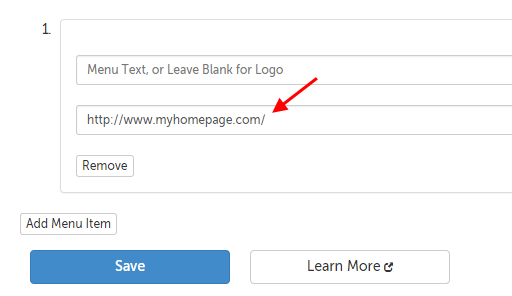
In this example, clicking on the account logo will now take the user to "http://www.myhomepage.com" instead of SecureVideo's website.
Set company and website name (custom subdomain)
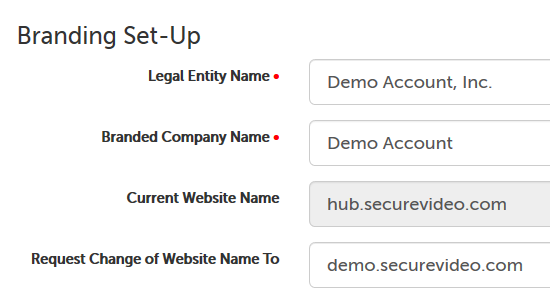
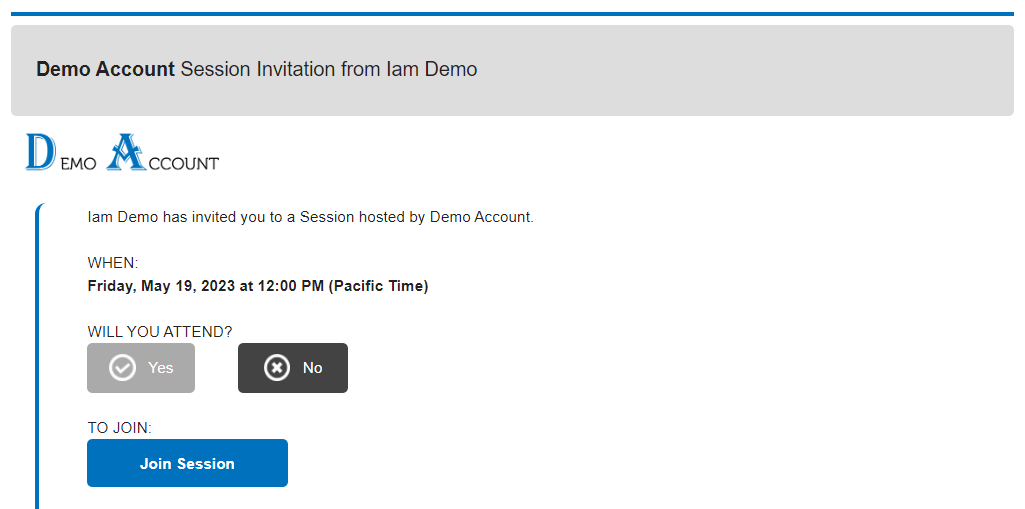
1. In the "Branded Company Name" field, enter the name you would like to appear on e-mail invitations.
- "Legal Entity Name" is only used internally for things like the name that appears on invoices and your BAA with SecureVideo.
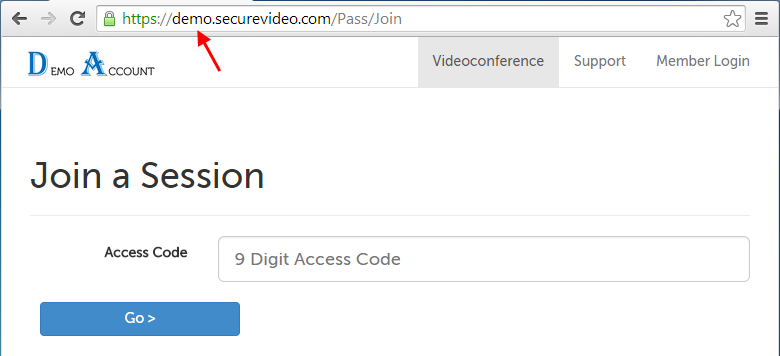
2. In the "Request Change of Website Name To" field, enter the subdomain you would like to appear in the URL of your account pages. (This must end in "securevideo.com".)
- If you were already using a custom subdomain, the old one will be deleted immediately after requesting a new one and clicking the "Save" button at the bottom of the page. In between your request and when the new subdomain is ready (around 90 minutes later), all of your links will appear as the default subdomain of "hub.securevideo.com".
- Logo and colors will not be effected when changing to a new subdomain unless otherwise edited.
Example:
Your Company Name is what appears on e-mail invitations:
Your Website Name is the name of your subdomain, which sets the URL for all of your account pages.
Customize system colors
1. Use the "Customize system colors" button to expand the colors menu.
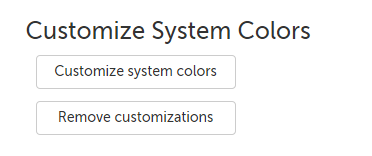
2. You'll have the options listed below to customize the colors on your account. While this page contains examples, you can also use the "Save & Test Colors" button on the Branding page to view your new colors on a test page.
Click any of the colors to open a color menu where you can change it, either by selecting the displayed colors, or entering the RGB color combination number. (Note: This RGB color menu is only accessible with a Chrome or Firefox browser. Other browsers only offer a general color palette.)
- Main Background: the main background color of every page.
- Navigation Background: the color of your navigation pane at the top of every page. (Example below: Navigation Background set to pink.)

- Navigation Background Text: the color of the text in the navigation pane at the top of every page. (Example below: Navigation Background Text set to yellow.)

- Navigation Active Background Text: the color of the highlight showing which tab in the navigation pane has been highlighted. (Example below: Navigation Active Background Text set to pink.)

- Dashboard Panel Background: the color of each participant's tile on your Dashboard. (Example below on th left: Dashboard Panel Background set to yellow.)
- This color is also used for days with availability on your public calendar if the Appointment Slots feature is enabled (image on the right).
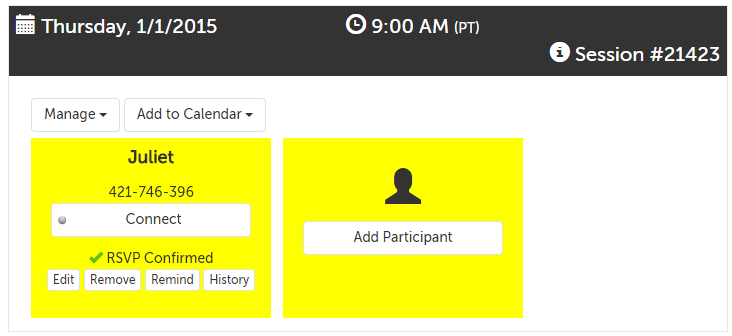
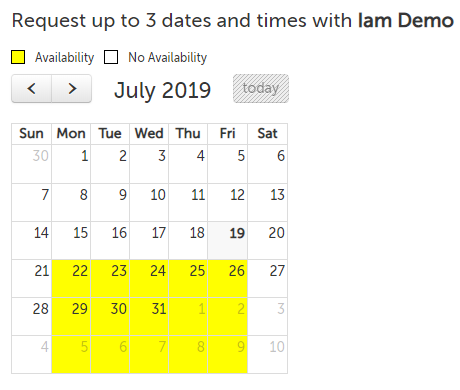
- Dashboard Header Background: the color of each session header on your Dashboard. (Example below: Dashboard Header Background set to pink.)

- Dashboard Header Text: the text color used in each session header on your Dashboard. (Example below: Dashboard Header Text set to yellow.)

- Page Header Text: the text color used at the top of every page, to describe that page. (Example below: Page Header Text set to pink.)

- Jumbotron Background: Jumbotrons are large text boxes that we use to highlight information. (Example below: Jumbotron Background set to yellow.)

- Jumbotron Text: Jumbotrons are large text boxes that we use to highlight information. (Example below: Jumbotron Text set to pink.)

- Well Background: Wells are small text boxes that we use to highlight information. (Example below: Well Background set to yellow.)

- Well Text: Wells are small text boxes that we use to highlight information. (Example below: Well Text set to pink.)

- Primary Buttons Background: Primary buttons are the buttons someone is most likely to use on a given page. (Example below: Primary Buttons Background set to pink. This image is from the waiting room page, but Primary Buttons appear on nearly every page within your SecureVideo account.)
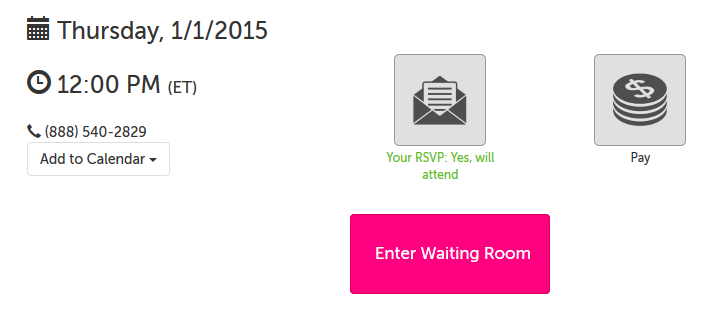
- Primary Buttons Text: Primary buttons are the buttons someone is most likely to use on a given page. (Example below: Primary Buttons Text set to yellow. This image is from the waiting room page, but Primary Buttons appear on nearly every page within your SecureVideo account.)
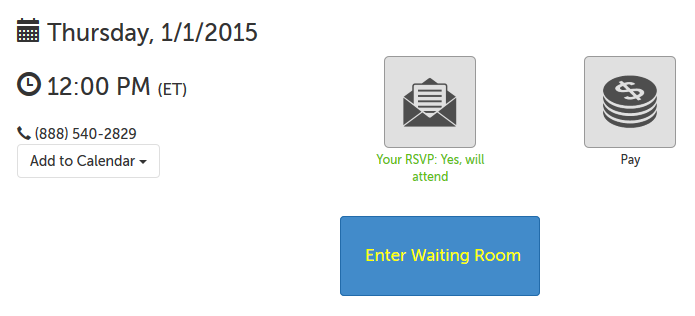
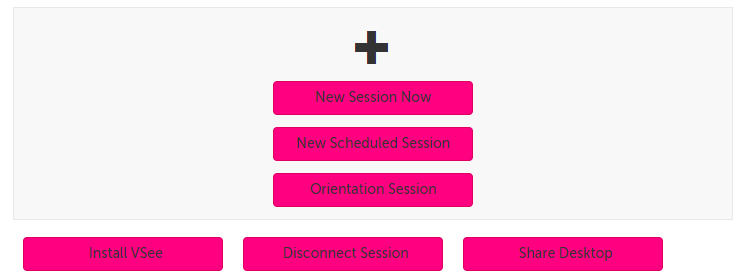
- Secondary Buttons Background: Secondary buttons are generally all non-primary buttons. (Example below: Secondary Buttons Background set to pink.)
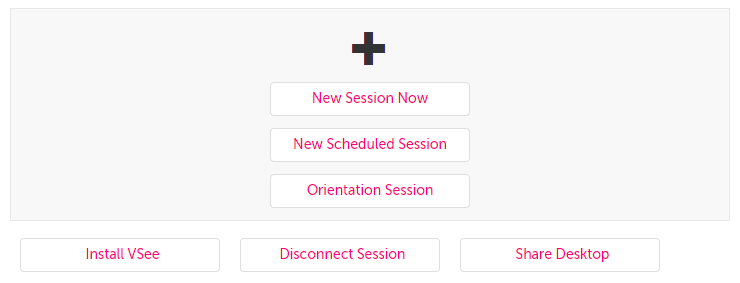
- Secondary Buttons Text: Secondary buttons are generally all non-primary buttons. (Example below: Secondary Buttons Background set to pink.)
- Top Menu Background: If you enable Custom Tabs, this is their background color. They appear along the top of your account pages. (Example: Top Menu Background set to yellow.)

- Top Menu Text: If you enable Custom Tabs, this is their text color. They appear along the top of your account pages. (Example: Top Menu Text set to pink.)

If you ever want to start over, you can use the "Remove customizations" button to revert back to the system's default colors.
Custom Tabs
These instructions will walk you through the process of adding or modifying custom tabs within your account. Custom tabs are ONLY visible to logged in users. There are two types of custom tabs.
Above SecureVideo Navigation Menu
This type custom tab creates tabs above both the logo and SecureVideo navigation, and uses the Top Menu colors as shown above.
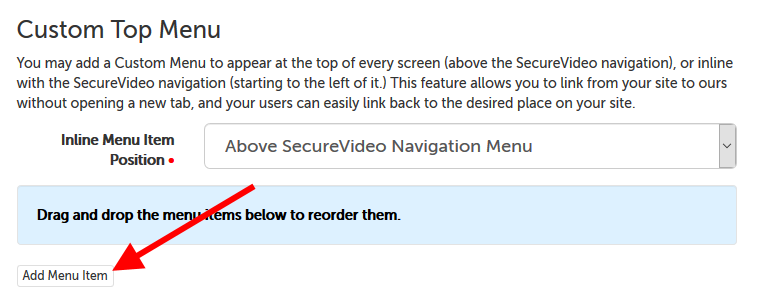
1. Click on the dropdown next to "Inline Menu Item Position", and select "Above SecureVideo Navigation menu.
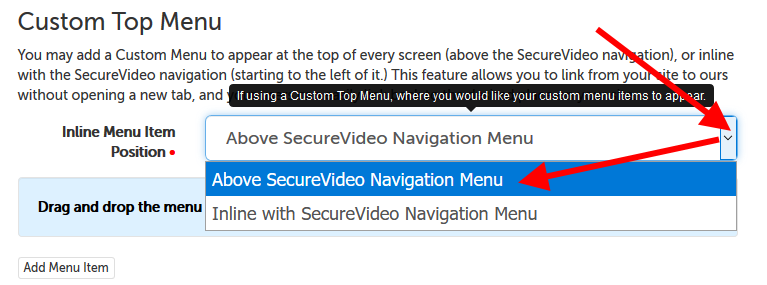
2. Click on the "Add Menu Item" button.
3. Leave the first "Menu Text" field blank so that your logo will point to whatever URL you enter. This will allow you easy navigate back to your own home page within SecureVideo. (If you'd rather use your logo to get back to SecureVideo.com, don't leave any of the Menu Text fields blank.)
- Menu Text, or Leave Blank for Logo: the text that will display on the custom tab.
- http://yoururl.com/where: the URL that the custom tab will link to.
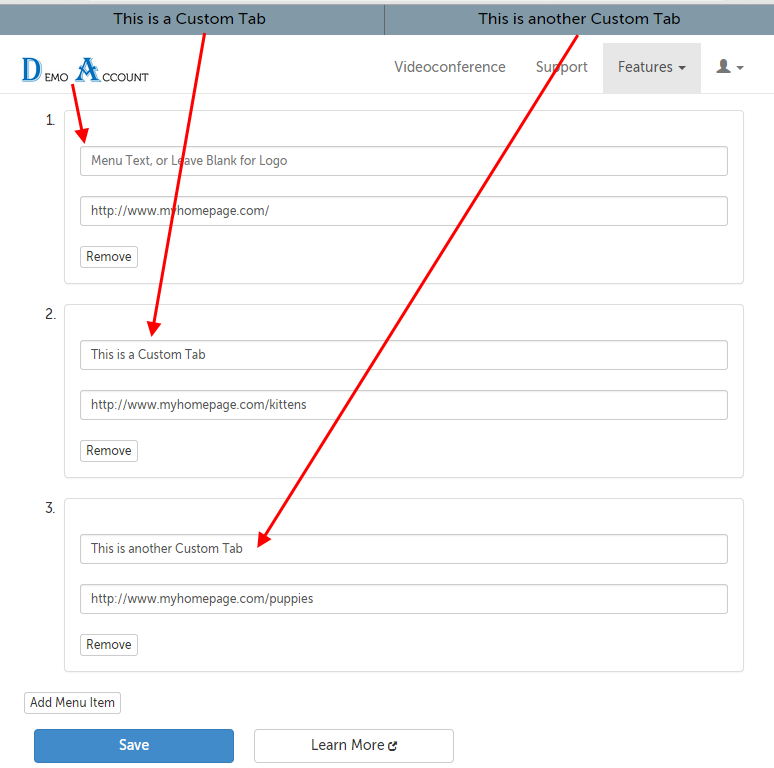
4. If you want to rearrange the order of the tabs, click on the custom tab section and drag and drop it where you would like it to be placed in the order.
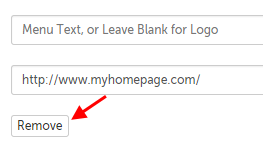
5. To delete any of the custom tabs, use the "Remove" button under the item.
Inline with SecureVideo Navigation Menu
This type custom tab creates tabs within the existing SecureVideo navigation (to the left of existing menu items), and uses the Navigation Background colors as shown above.
1. Click on the dropdown next to "Inline Menu Item Position", and select "Inline with SecureVideo Navigation menu.
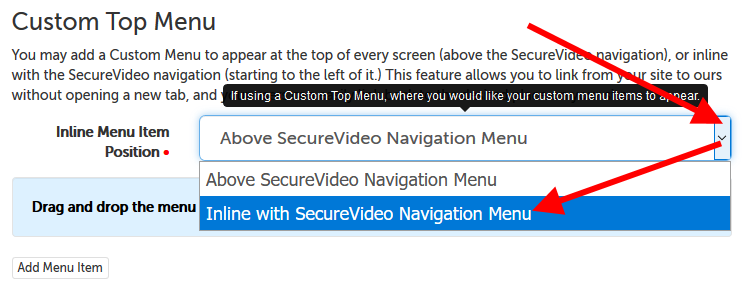
2. Click on the "Add Menu Item" button.
3. Leave the first "Menu Text" field blank so that your logo will point to whatever URL you enter. This will allow you easy navigate back to your own home page within SecureVideo. (If you'd rather use your logo to get back to SecureVideo.com, don't leave any of the Menu Text fields blank.)
- Menu Text, or Leave Blank for Logo: the text that will display on the custom tab.
- http://yoururl.com/where: the URL that the custom tab will link to.
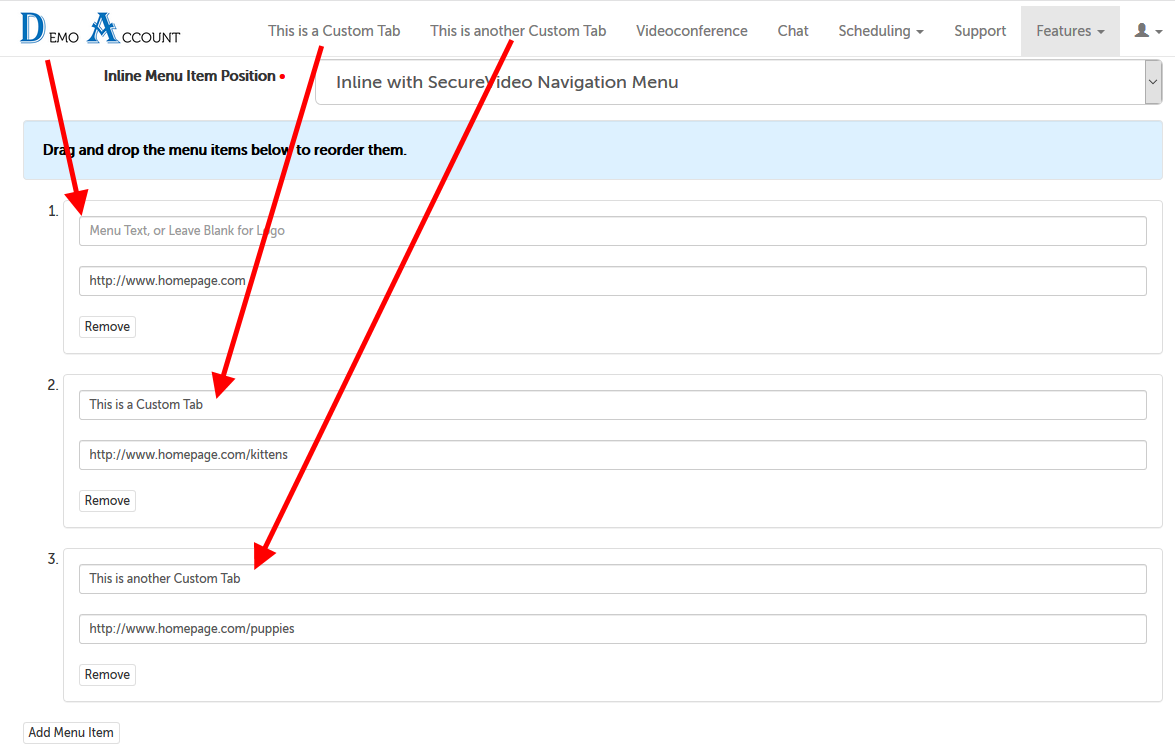
4. If you want to rearrange the order of the tabs, click on the custom tab section and drag and drop it where you would like it to be placed in the order.
5. To delete any of the custom tabs, use the "Remove" button under the item.

Upload One-Click "waiting for host" image
If you are using the One-Click video engine, you can set an image to appear to your participants that have entered the waiting room to wait for you. (If you would also like to set a message, you can do so using the One-Click Empty Room Participant Message option.)
1. Scroll to the bottom of the page and click the "Choose File" button.

2. Find the logo file on your computer, and select it for uploading. (If uploaded, the filename should appear next to the "Choose File" button.)
- If you want help converting your file to a JPG, please let us know at [email protected].
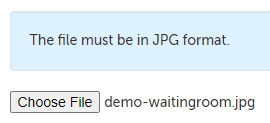
3. Click the "Save" button in the lower left-hand corner.

This article was last reviewed by our Support team on May 19, 2023.